

Key Takeaways
- Caulk works best on stationary gaps like those around window frames and pipe penetrations.
- Weatherstripping belongs on movable surfaces: doors and operable windows.
- Expanding foam fills large, irregular cavities that caulk cannot bridge.
- Most households can complete a full sealing pass for under $50 in materials.
- Air leaks are usually concentrated around doors, windows, electrical boxes, and plumbing penetrations.
Air sealing
Air sealing means blocking the small gaps and cracks in a home's shell that let conditioned air escape and outside air in. These leaks force heating and cooling systems to work harder, raising energy bills without improving comfort. The most common sealing materials are caulk, weatherstripping, and expanding foam, each suited to different types of gaps.
The U.S. Department of Energy estimates that sealing air leaks and adding insulation can reduce heating and cooling costs by 10 to 20 percent in a typical home, though results vary by house age, climate, and existing condition.
Why air leaks matter more than most families realize
A drafty home is not just uncomfortable. The gaps that let in cold winter air or humid summer air make your furnace and air conditioner run longer cycles, consuming more energy without raising comfort. Those gaps are the reason a house can feel cold near windows even when the thermostat reads 70 degrees.
The problem compounds quietly. Small gaps around plumbing pipes, electrical outlets on exterior walls, and attic hatches can collectively add up to the equivalent of leaving a window open year-round. The good news is that the materials to fix most of them cost a few dollars each and require no special skills to apply.
This kind of preventive work also protects the home itself. Moisture that rides in on infiltrating air can condense inside wall cavities and around window frames, eventually causing rot or mold. See our guide on how small leaks compound over time for more on that risk. Air sealing fits neatly into a broader maintenance routine, as outlined in why small fixes prevent big bills.
Choosing the right material for each type of gap
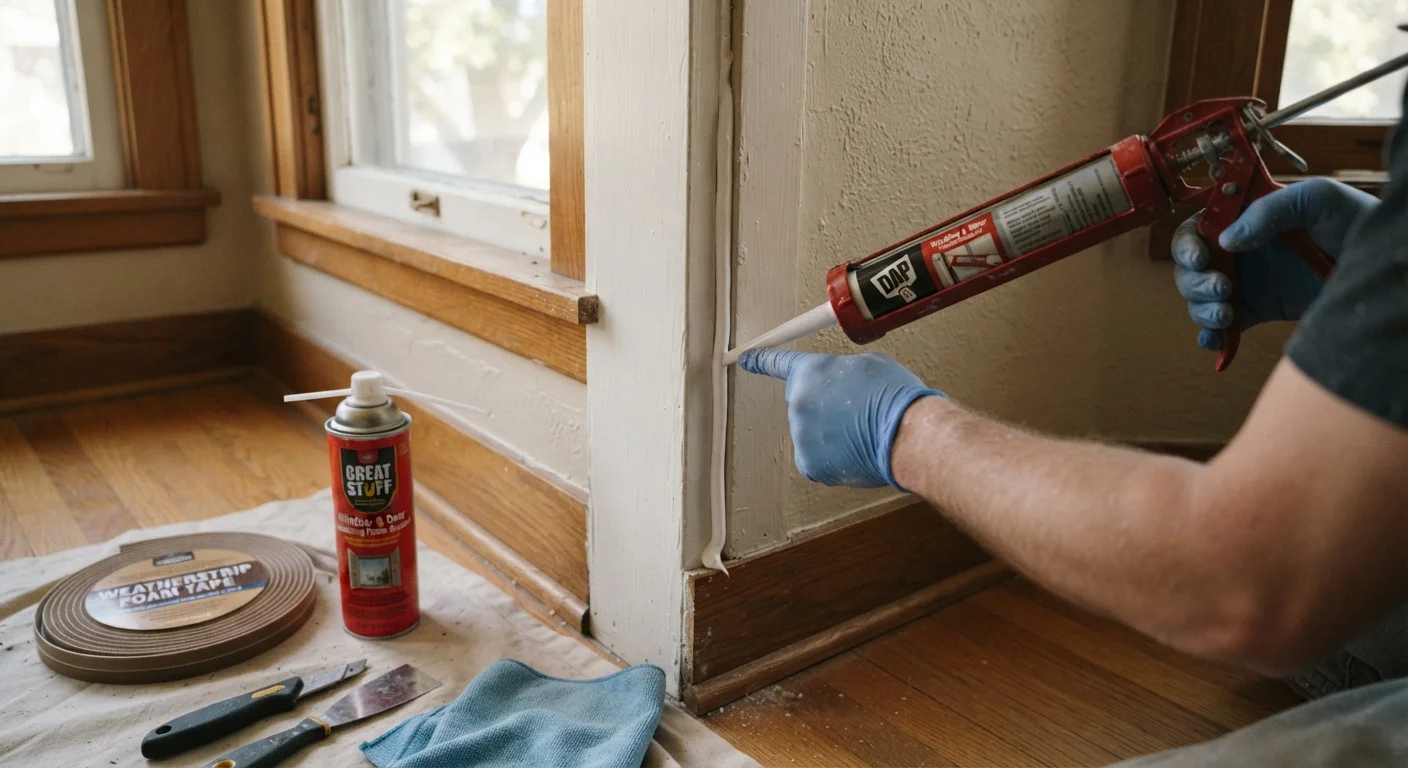
The three main materials each handle a specific situation. Using the wrong one shortens its lifespan and wastes money.
Caulk
Caulk is a flexible, paintable sealant that works on gaps no wider than about half an inch that do not move. Common applications include the seam where a window or door frame meets siding, gaps around pipes or wires passing through exterior walls, and cracks between baseboards and floors on exterior walls. Silicone caulk lasts longer than latex varieties and holds up better in wet areas. A single tube typically costs $5 to $10 and covers many linear feet of seam.
Weatherstripping
Doors and operable windows need weatherstripping, not caulk, because caulk cracks when applied to surfaces that open and close. Several types exist. Foam tape is the cheapest option and works on windows with low traffic. V-strip (also called tension seal) is more durable and fits into the sides of door frames. Door sweeps attach to the bottom of exterior doors to block the gap at the threshold. A door sweep costs roughly $10 to $20, and a pack of foam tape runs $5 or less.
Expanding foam
For larger, irregular gaps, such as the space where a pipe bundle exits through a rim joist or a big gap around an attic hatch frame, expanding foam fills cavities that a bead of caulk cannot bridge. It expands, cures solid, and can be trimmed and painted. Use minimal-expanding foam around window and door frames; standard foam can bow the frame if applied in excess. A can costs $6 to $12 and has a long shelf life if the straw is sealed between uses.
10-20%
Potential reduction in heating and cooling costs
The U.S. Department of Energy estimates this range for homes that combine air sealing with added insulation, though results vary by home age and climate.
$50
Typical material cost for a full sealing pass
Most households can purchase caulk, weatherstripping, and a can of foam to address common leak points for well under $50 total.
~30%
Share of home energy loss attributed to air infiltration
The U.S. Environmental Protection Agency's ENERGY STAR program has cited air infiltration as responsible for roughly a third of typical home heating and cooling energy use.
Where to look first in a typical home
Rather than treating the whole house as one project, work through specific zones where air leaks concentrate.
- Exterior doors: Check for daylight around the frame when the door is closed. Compress the existing weatherstripping with your hand; if it does not spring back, it is worn out.
- Windows: Hold a lit incense stick near the frame edges on a windy day. Smoke that wavers sideways indicates a leak.
- Electrical outlets and switches on exterior walls: Remove the cover plate and look for gaps around the electrical box. Pre-cut foam gaskets designed for outlet covers cost under $1 each.
- Attic hatch: An uninsulated or unsealed attic hatch is one of the worst offenders in many homes. Add weatherstripping to the frame and consider a rigid foam board on top of the hatch itself.
- Basement rim joists: The area where the home's framing sits on the foundation wall is often completely open to outside air. Foam board cut to fit, sealed at edges with spray foam, addresses this effectively.
- Plumbing and wiring penetrations: Gaps where pipes or cables enter from outside or from unconditioned spaces are easy to seal with a bead of caulk or a shot of foam.
For a broader view of how this work fits into annual upkeep priorities, the home maintenance budget planning guide walks through how to sequence repairs by urgency and cost.
Doing the work safely and within code
Most air sealing tasks are beginner-friendly, but a few areas require caution.
Never seal around a gas furnace flue, water heater vent, or other combustion appliance without professional guidance. These vents need to draw air correctly; blocking nearby gaps can disrupt that airflow and create carbon monoxide hazards. If your work area is near any combustion appliance, consult a licensed HVAC technician or building inspector first.
Spray foam near electrical wiring is generally safe once cured, but avoid applying it directly onto wiring. Wear gloves and safety glasses when using foam; uncured foam bonds to skin and is difficult to remove.
Some municipalities require permits for certain types of insulation or sealing work in specific areas like finished basements. Check with your local building department before tackling attic or basement projects at scale. This is especially relevant if you are combining air sealing with insulation improvements, which can affect how your home's ventilation system functions.
Test before you seal
On a cold, windy day, hold a lit incense stick or a damp hand near suspected gaps while someone opens and closes exterior doors. The resulting pressure change pushes air through leaks and makes them easy to locate. Mark each spot with painter's tape before you start sealing so you do not miss anything.
Combining air sealing with HVAC maintenance amplifies the savings. Smart HVAC upkeep habits ensure that a tighter home does not strain a system that was already running inefficiently.
This article is for general informational purposes only and does not constitute professional advice. For work involving gas lines, structural areas, or electrical systems, consult a licensed contractor. Verify local building codes and permit requirements with your local authority before beginning any project.