

Key Takeaways
- Thorough prep work, patching and taping, prevents most common paint problems.
- Cutting in before rolling gives you clean edges without masking every inch of trim.
- Two thin coats outperform one thick coat in coverage and durability.
- Proper tool cleanup extends the life of brushes and rollers for future projects.
- A standard bedroom can be painted in a single weekend with basic supplies.
What you will need
Why prep work decides the outcome
Most disappointing paint jobs come down to skipped prep, not bad paint or wrong color. Dust, grease, and unfilled holes all show through the finished surface. Taking 30 to 45 minutes on wall prep before opening a single can is the difference between a result that looks amateur and one that looks like a contractor did it.
If you are painting as part of a broader room refresh, it helps to think through the full space before you start. The room assessment checklist can help you decide what else needs attention before you commit to a color.
What you will need
Paint roller with 3/8-inch nap cover
Applies paint evenly across large flat wall surfaces.
Angled sash brush (2 to 2.5 inches)
Cuts in paint along edges, corners, and trim where a roller cannot reach.
Painter's tape (1.5-inch width)
Masks trim, outlet covers, and adjacent surfaces to keep edges sharp.
Drop cloths (canvas or plastic)
Protects floors and furniture from drips and roller splatter.
Roller tray and liner
Holds paint and distributes it evenly onto the roller cover.
Spackling compound and putty knife
Fills nail holes and small wall imperfections before painting.
Sanding sponge (fine grit)
Smooths patched spots and scuffs glossy surfaces so paint adheres properly.
Extension pole for roller
Lets you roll the upper wall and ceiling line without a ladder for most standard rooms.
How to paint a room step by step
The steps below follow the order that professional painters use, which minimizes rework and keeps the workspace manageable. Work from the top of the wall down and from one corner across to keep wet edges from drying before you blend them.
Ventilate properly during painting
Paint fumes build up quickly in enclosed spaces. Open windows and use a fan to move air out of the room throughout the project. Keep children and pets out of the area until the paint is fully dry and the smell has cleared, which can take several hours even with good airflow.
Prepare the room
Remove outlet covers, switch plates, and any wall hardware. Move furniture to the center of the room and cover it with drop cloths. Lay canvas drop cloths along the base of every wall, overlapping at corners so no floor is exposed.
Patch and sand the walls
Press spackling compound into nail holes and small dents with a putty knife, slightly overfilling each spot. Let it dry fully, which usually takes 30 to 60 minutes for small repairs. Sand each patch smooth with a fine-grit sanding sponge, then wipe the wall with a damp cloth to remove dust.
Apply painter's tape
Press tape firmly along the top edge of baseboards, window casings, door frames, and the ceiling line if you are not painting the ceiling. Run a putty knife or your fingernail along the tape edge to seal it. Pay extra attention to corners where paint tends to bleed.
Cut in along edges and corners
Load your angled brush with paint until about an inch of bristle is covered, then tap (do not wipe) off the excess. Paint a 2- to 3-inch band along every edge where the wall meets trim, ceiling, or an adjacent wall. Work in sections of about 3 to 4 feet so the cut-in paint stays wet when you roll over it.
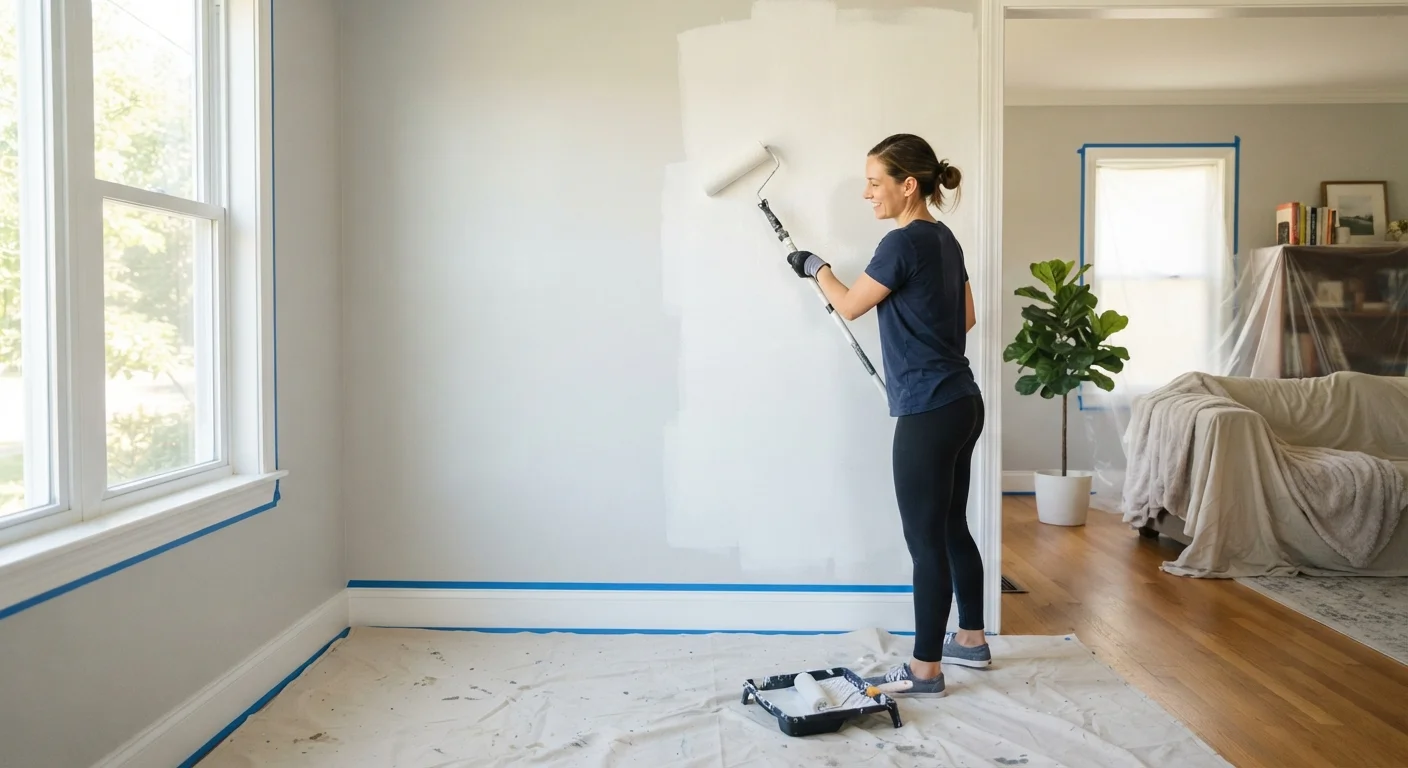
Roll the walls
Pour paint into the tray to fill the well, not the ribbed ramp. Roll the cover in the paint, then run it up the ramp several times to remove excess. Apply paint in a large W or M pattern on the wall, then fill in without lifting the roller. Maintain a wet edge by working quickly and overlapping each pass by a few inches. Roll as close to the cut-in band as possible to blend the two.
Let dry and apply the second coat
Check the paint can for the recommended recoat time, typically 2 to 4 hours for latex paint. Do not rush this. The surface may look dry before it is ready. Once the first coat is fully dry, repeat the cut-in and roll sequence. The second coat usually goes faster because coverage is already established.
Remove tape and clean up
Pull painter's tape back at a 45-degree angle, pulling toward the painted wall rather than away from it. Rinse brushes and roller covers under warm water immediately if using latex paint, working paint out of the bristles and nap until the water runs clear. Reinstall outlet covers and switch plates only after the paint is completely dry.
Finishing touches and common fixes
Once both coats are dry, inspect the walls in natural light. Look for thin spots, visible brush lines near trim, or areas where the roller texture looks inconsistent. A small amount of touch-up paint on a brush fixes most of these without re-rolling the entire wall.
Pick the right sheen for the room
Flat and matte sheens hide wall imperfections well but are harder to wipe clean, making them better for bedrooms and low-traffic areas. Eggshell and satin finishes hold up to light scrubbing and work well in family rooms, hallways, and children's rooms. Save semi-gloss for trim, doors, and bathrooms where moisture resistance matters.
Old paint may contain lead
Homes built before 1978 may have lead-based paint on walls or trim. Sanding or disturbing lead paint releases hazardous dust. If you are unsure of your home's paint history, use an inexpensive lead test kit before sanding, or consult a certified lead abatement professional. The EPA's Renovation, Repair, and Painting (RRP) rule governs work in pre-1978 homes with children or pregnant occupants.
If paint bled under the tape onto trim, let it dry completely, then score the edge lightly with a utility knife before peeling. For a very fine bleed line, a bit of the trim's original color on a detail brush is faster than tape and repainting.
A fresh paint job pairs well with low-cost decor updates. See small decorating changes that shift the feel of a room for ideas that complement newly painted walls. For a room-by-room approach to pulling the whole space together, the affordable decor starter framework covers each area of the home with practical, low-cost strategies.